Contouring Guide: How To Contour Like a Pro
Achieve a sculpted look by learning how to contour. The contouring trend is becoming a beauty mainstay, and we’re here for it. Pro makeup artists have used contouring techniques for decades — and now contouring products and trade secrets are accessible to everyone.
This contour guide contains instructions to help you master the technique, which can help you change the look of your features. For example, a square face shape might contour to achieve a rounder look, while a heart-shaped face might contour to create an oval-shaped effect. Contouring can also slenderize or widen the look of your nose.
Learn how to prep your skin for makeup and discover beginner contour face shape tips. Also covered in this guide are the products used for contouring and instructions on how to apply them.
Choosing the Right Contouring Product
Learning about contour makeup is a good place to start when teaching yourself how to contour. To create a sculpted look, you’ll need the right contouring products. These products come in two formulas — powder and liquid.
Powder contour and highlight products are a beauty staple. Milani Silky Matte Bronzing Powder is an option for creating a contoured look without shimmer. The Baked Bronzer and Highlighter collections contain shimmery, multifaceted colors. For a study in contrasts, try matte bronzer to contour and highlight with a pearlescent powder like Milani Strobelight Instant Glow Powder Highlighter.
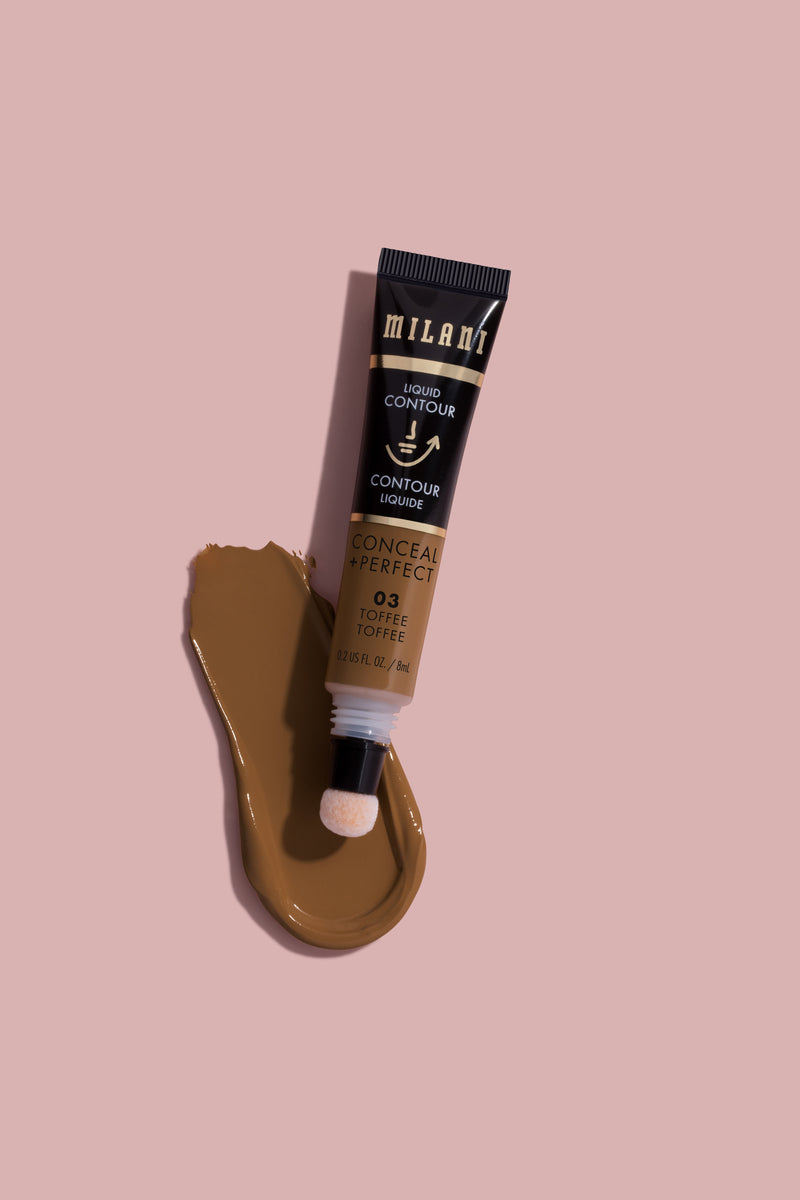
Liquid formulas are a pro favorite because they’re versatile and easy to blend with fingertips or a makeup sponge. They can be applied lightly for a sheer wash of color or layered for more saturation. Try Milani Conceal + Perfect Liquid Contour, which has an innovative cushion applicator for guess-proof application.
Accent your liquid contour with Milani Conceal+ Perfect Liquid Highlighter. Like the bronzer, it has a targeted cushion applicator. Swipe and blend this pearl-infused liquid highlighter in a shade one or two lighter than your skin tone for a lit-from-within glow.
Finish the look with a product to brighten the undereye area. Milani Conceal + Perfect Undereye Brightener is the perfect accompaniment to the bronzer and highlighter from the same collection. Get all three products in the Blend & Snatched Kit, which also includes blending sponges, a hydrating primer and setting spray.
Prep Your Face
Prepping your face before contouring and highlighting can help optimize product application and may even help your contoured look last longer. Here are four quick and simple steps to follow:
1. Cleanse Your Face
Clean skin is the best canvas. Use a facial cleanser for your skin type for best results. Milani Glow Gel Cleanser is enriched with vitamin C and coconut water to gently yet effectively cleanse all skin types, even sensitive.
Washing your face is a sensory experience with a luxe cleansing balm. Milani Green Goddess Makeup Melter Cleansing Balm for all skin types transforms from balm to oil in the palm of your hands. It effortlessly melts away makeup and dirt for clean skin that’s ready for the next step in your routine.
2. Moisturize
Bronzer and highlighter are easier to apply to moisturized skin. Follow your cleanser with a moisturizer that meets your skin care needs. There are oil-free moisturizers for normal-to-oily skin types and richer formulas for dry skin types.
3. Apply Milani Cosmetics Primer
After the moisturizer is absorbed, primer is next. There are mattifying primers to cut shine and primers that impart a dewy glow, so take your pick. Multipurpose prime-and-set sprays like Milani Make It Last Setting Spray are another option.
4. Apply Milani Cosmetics Foundation
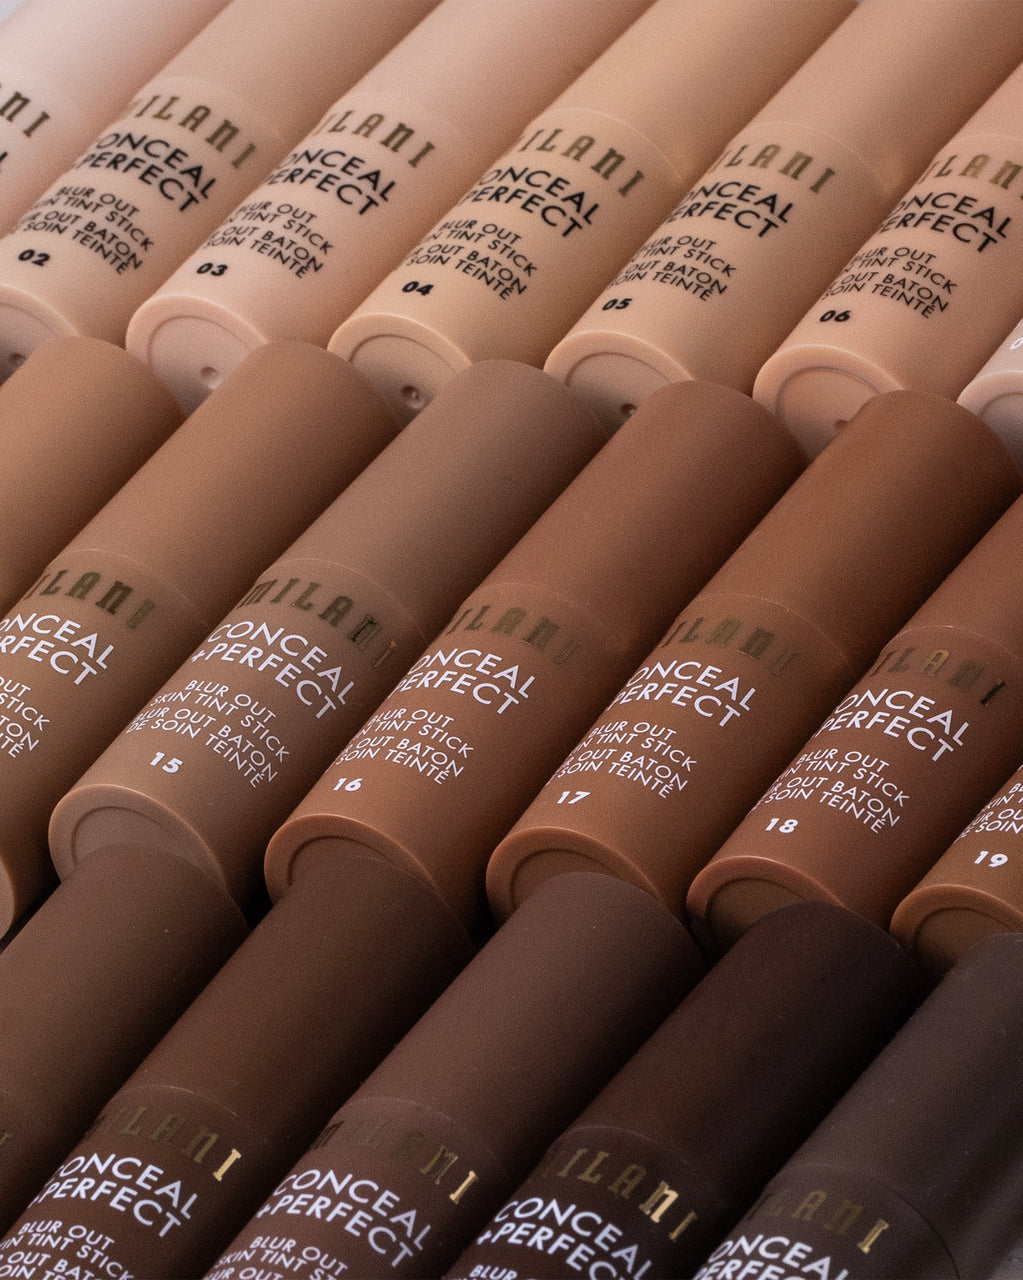
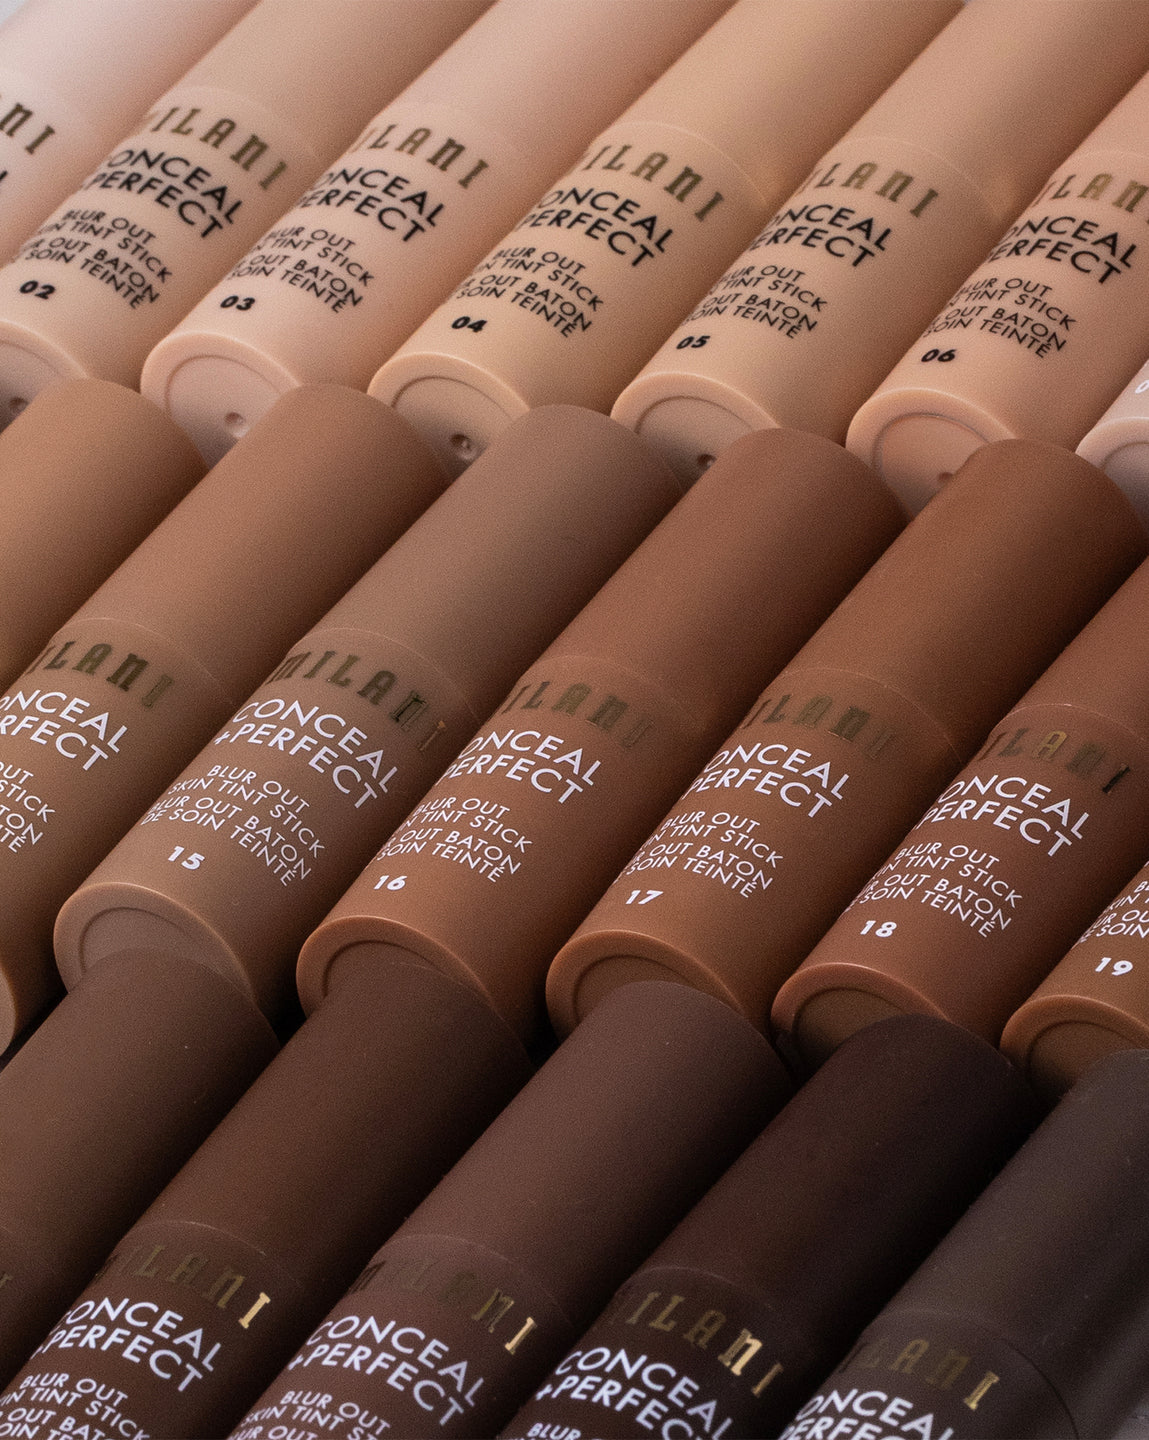
Foundation is used to create a flawless effect and smooth canvas on which to contour. Try Milani Conceal + Perfect 2-in-1, which is a foundation-and-concealer combo. It comes in 45 shades for most skin tones and is buildable for medium to full coverage with a natural matte finish.
How and Where to Contour
The next step is mastering technique and placement, which is made simple with a contour kit. The four steps of the process can be completed in mere minutes:
- Contour Your Cheekbones
If you’re not already clear on where your cheekbones lie, suck in your cheeks to find out. Contour is applied to the hollow areas below the cheekbones for a chiseled appearance. Use the middle of your eye as a guideline where to begin your contour placement and sweep it back to your ear, then blend.
- Contour Your Nose
There are different approaches to applying nose contour based on the look you want. Generally, you’ll apply product in two thin lines down each side of your nose and blend outward to achieve the contoured look. As a general guideline, closer lines make a slimmer effect.
- Contour Your Forehead and Jawline
The next step is to contour the perimeter of your face, specifically the forehead and jawline. Apply contour close to the hairline on the forehead and temples, then down from the ears to the chin.
- Top Things Off With Highlighter
The final step in creating a professionally contoured look is highlighter. This product goes where the light would naturally hit for the most believable glow. Apply it to the tops of cheekbones, browbone, nose tip and right above the lip line.
Keep Face Shape in Mind
How to contour different face shapes is part of learning this beauty technique. Here are some quick tips for the most common face shapes:
- Rectangle Face Contour: Create a rounder look by applying contour mainly around the facial perimeter and blending well for a softly diffused effect. To shorten a long face, add contour at the bottom of the chin.
- Square Face Contour: The same tips apply to square face shapes, except for the chin contour. Soft bronzer around the hairline and jawline blended well can make the face appear rounder.
- Oval Face Contour: If your face is oval, you can use contour to impart a gentle glow or enhance your nose. This facial structure really doesn’t require much shaping, according to most makeup pros.
- Round Face Contour: Make your round face appear more angular with contour in the cheekbone hollows, tip of the chin, down the nose and around the perimeter.
- Diamond Face Contour: Diamond faces can achieve balance with contour applied to the tip of the chin, the forehead and the hollows of the cheeks.
- Heart Face Contour: Heart faces can follow the same tips as diamond shapes. Chin contouring can soften a pointy tip, while forehead and jawline contouring creates a softer shape.

